OUR RENOVATION JOURNEY: OUR EN-SUITE BATHROOM PLANS WITH KOHLER
/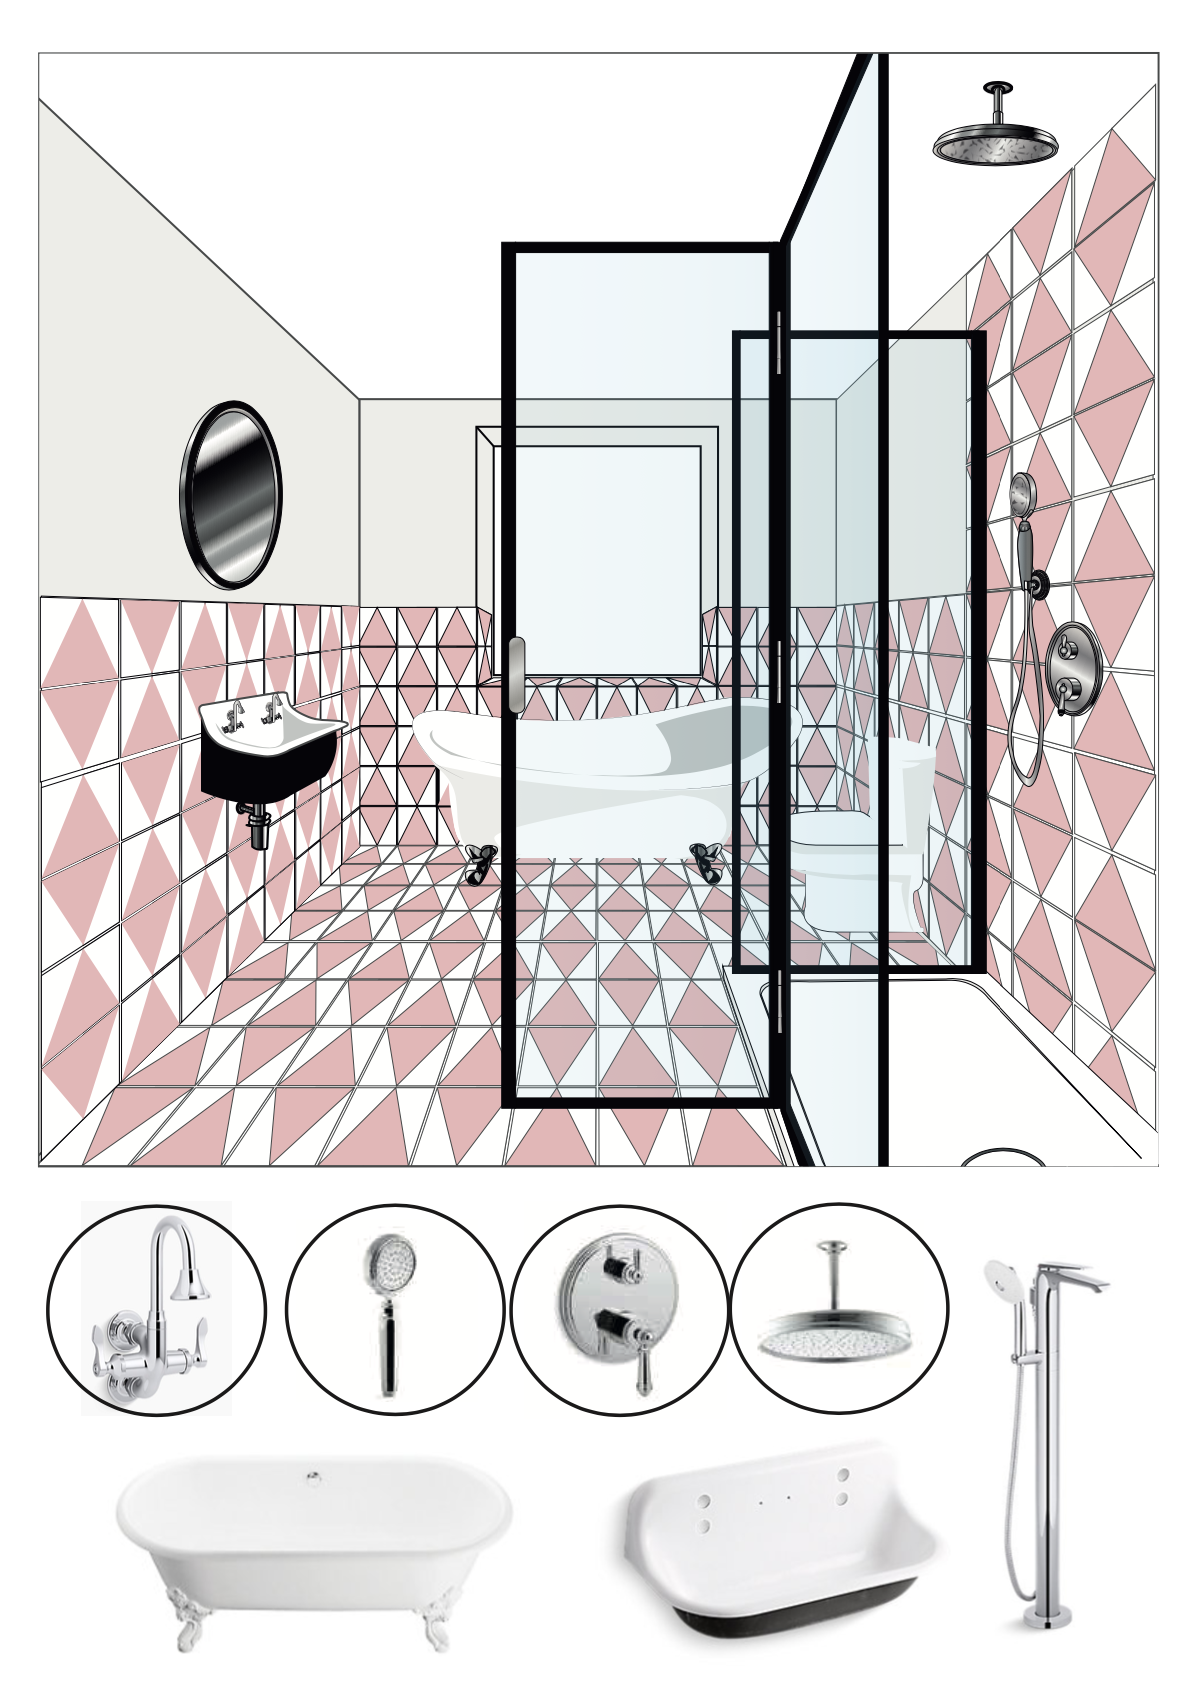
House Lust en-suite drawing by William at Drench showers. Design by Amanda Cotton.
AD/ PR Gift : The Kohler products have all been gifted for marketing purposes across my social channels. All thoughts, opinions and interior design is my own.
It’s another week over at the rat house renovation and I thought it was about time I shared some more of our plans, so today I’m talking about our en-suite bathroom.
I found designing our bathrooms the hardest of all the rooms. Unlike the other rooms which are more or less just paint or wallpaper, there are so many more components which need to be considered with designing a bathroom.
First of all theres the layout to think about- the sewage pipe will dictate where the toilet has to go unless its easily moved, or if your planning a renovation then consider this from the start. Then there’s the look and style to consider- modern, traditional, retro, classic. Then the tiles and brassware. Storage is also an important factor, plus shower screens, bath shape, sinks… honestly the choice is endless.
I found sites such as Pinterest a mind-field as theres almost too much inspiration out there. All I knew is that I wanted the space to make my heart sing and bring me joy, and I didn’t want to get hung up on longevity this time. As much as I’d like to hope that I love it as much as I do right now in five years time, I’m not going to worry about that and enjoy it for the now. My theory is you never regret the choices you make, only the one you didn’t, and this design makes my heart sing.
Before shots of the en-suite bathroom
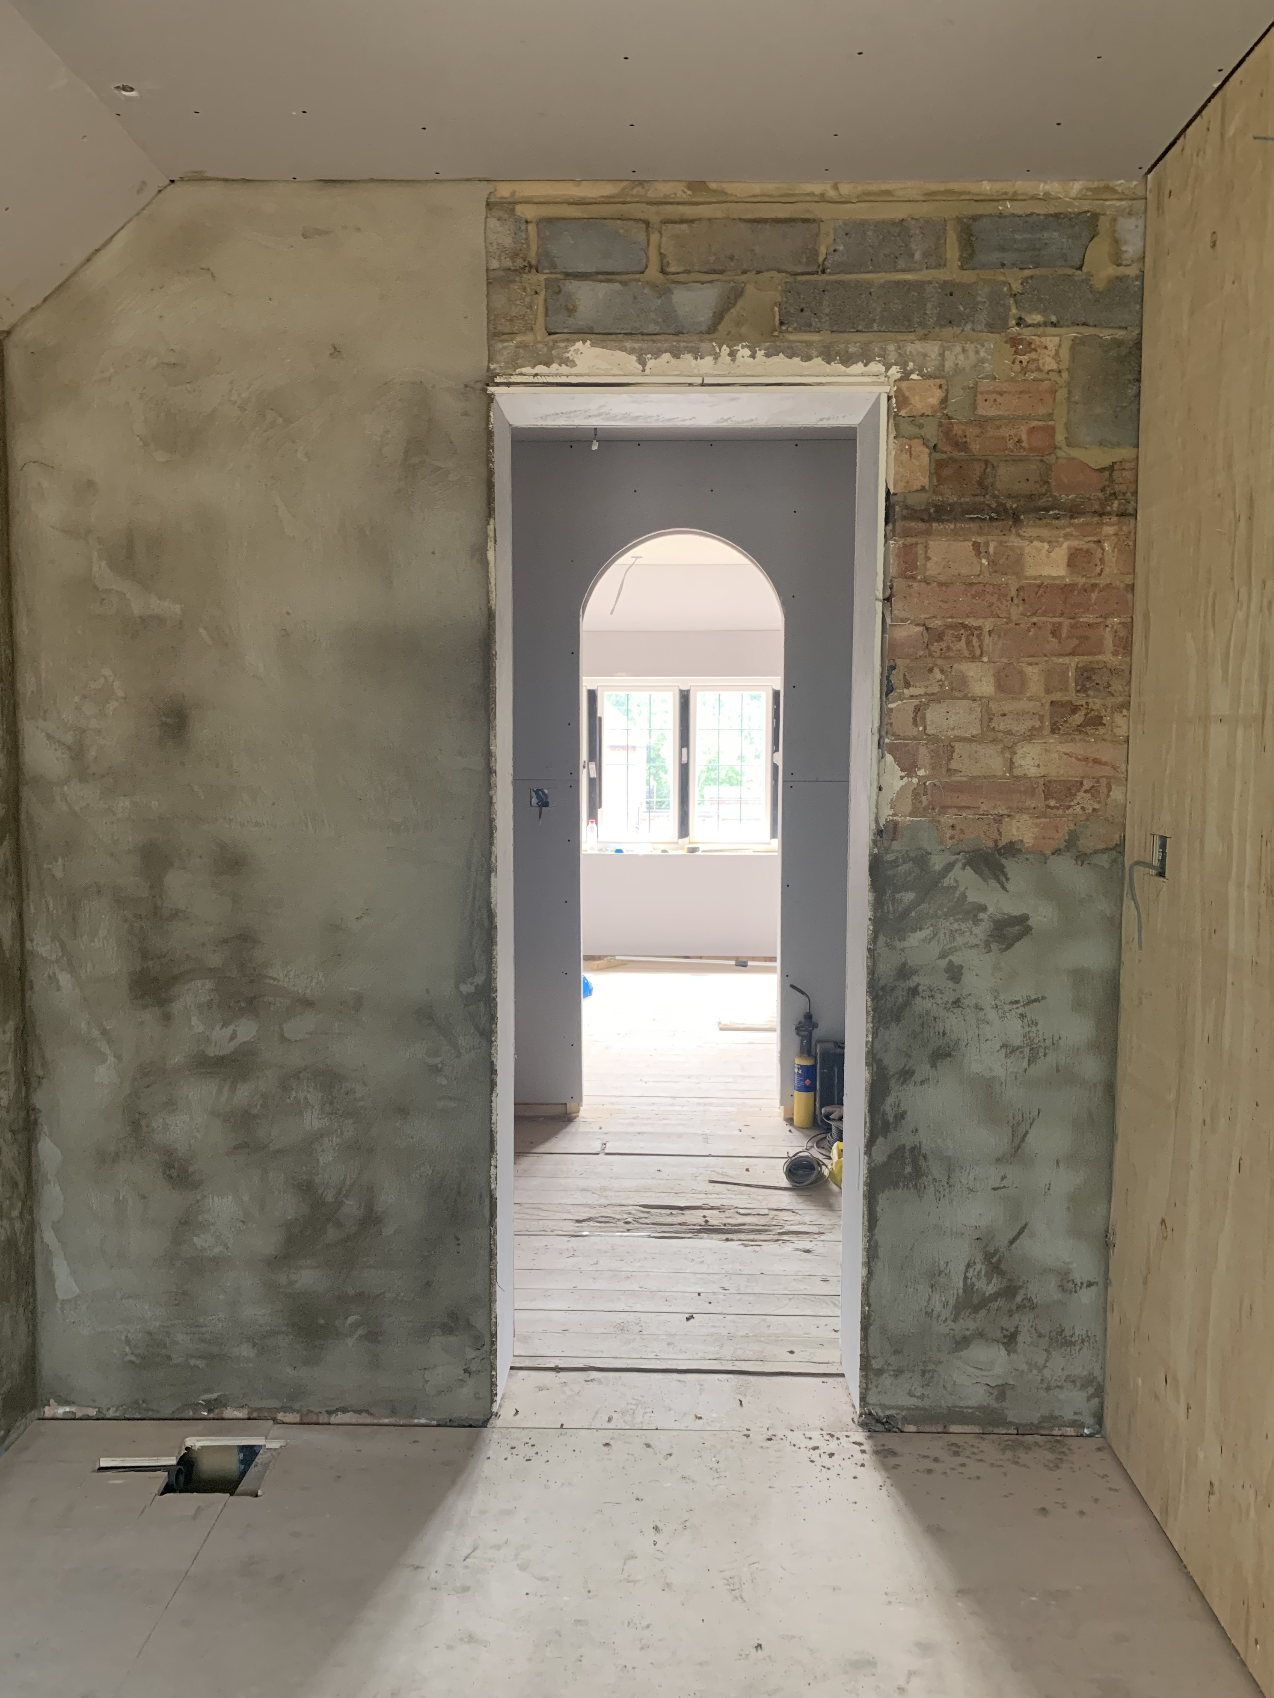
Our ensuite bathroom is located in the new extension part of our house and is off the dressing room and master bedroom. It’s a good size at 3.5m x 2.7m wide so I decided to add a bath and a shower to it.
My starting point with the design of this bathroom was actually the washbasin. After scrolling through Pinterest (I know, after just saying it was overwhelming with ideas) I came across a scroll stopping image which stopped me in my tracks and it was this Brockway wall mounted cast iron basin from Kohler.
After doing a bit more research, I discovered that Kohler is an American brand, but unlike most of the other cool American brands which we don’t have access to here in the UK, Kohler is well and truly here in the UK!!

Kohler, Brockway basin.
After then delving further into Kohler, I fell deep down a Kohler rabbit hole of beautiful brassware and decided to design our whole ensuite bathroom around their chrome brassware, cast iron brockway sink and their cast iron Cleo bath.
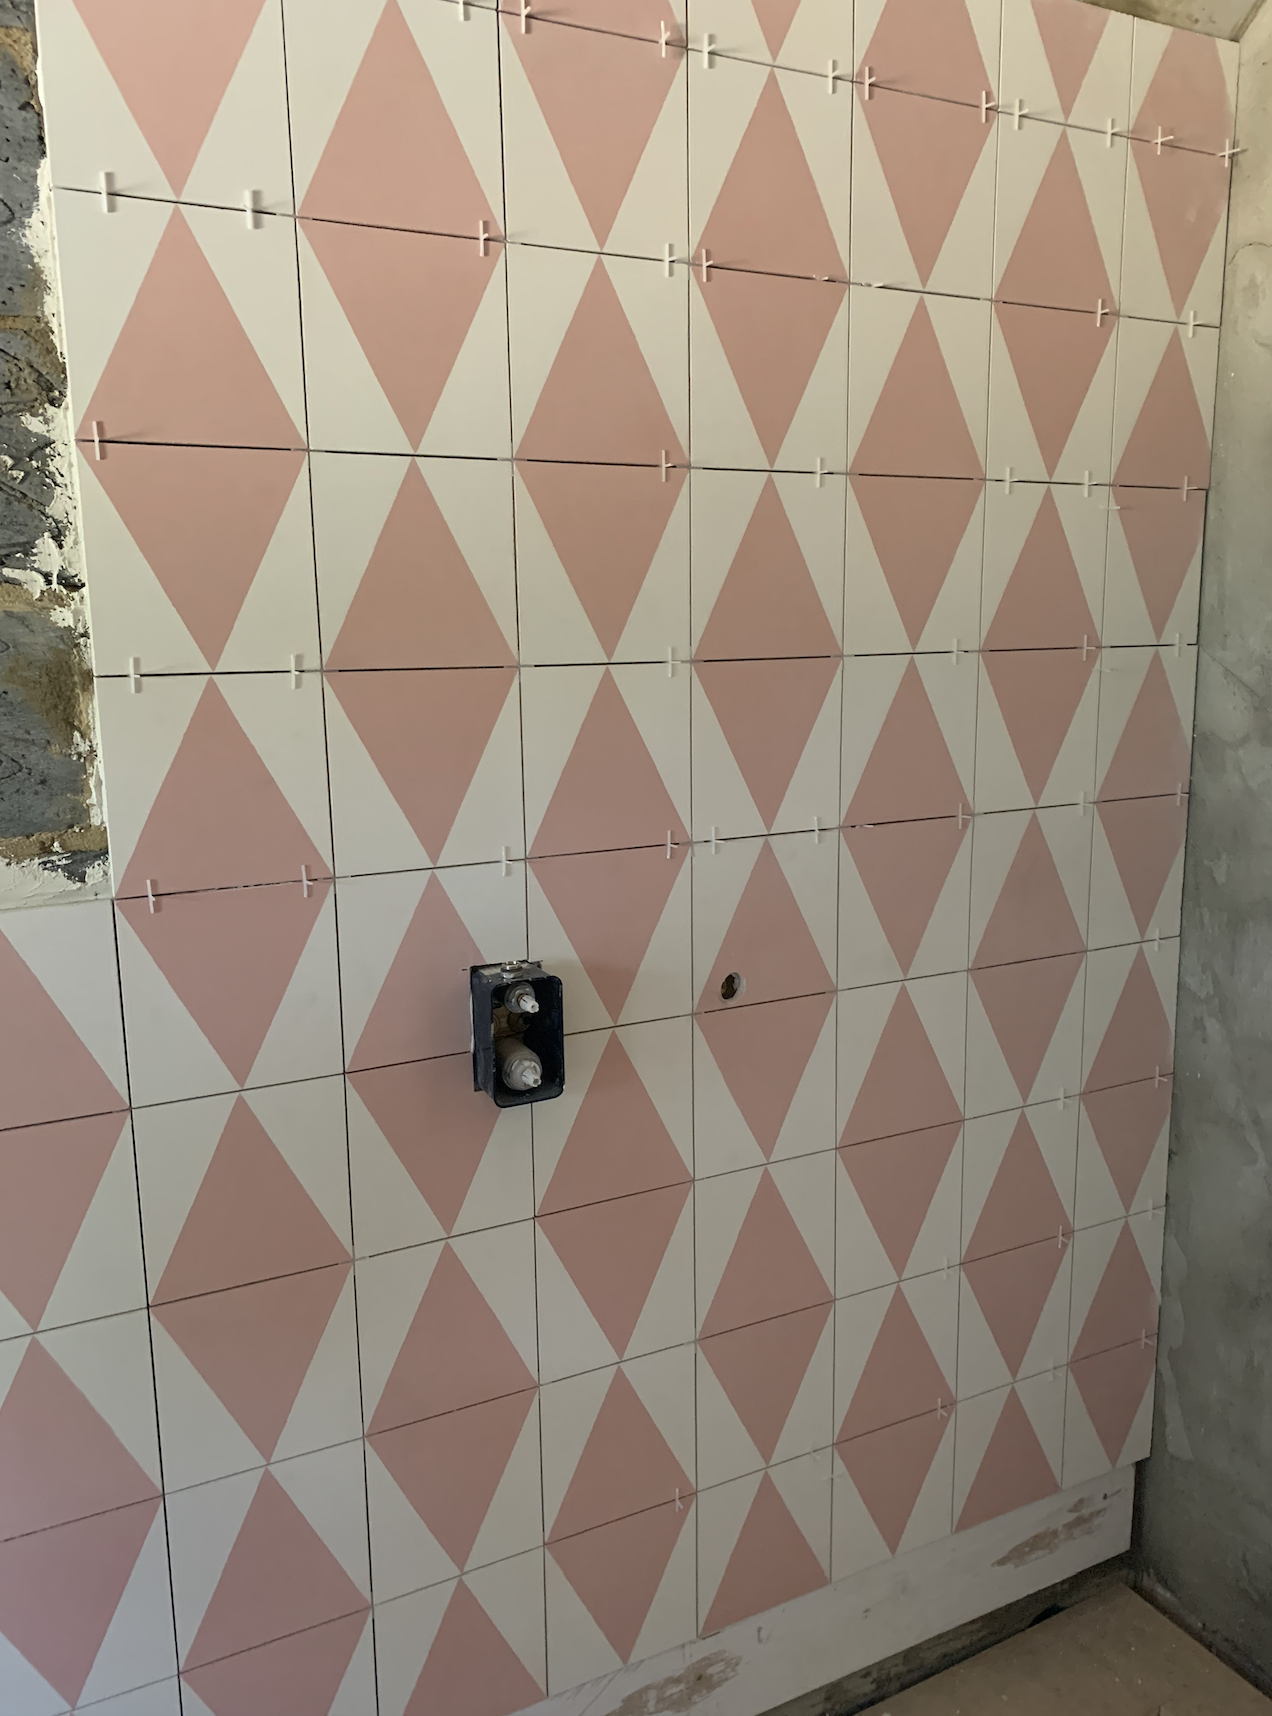
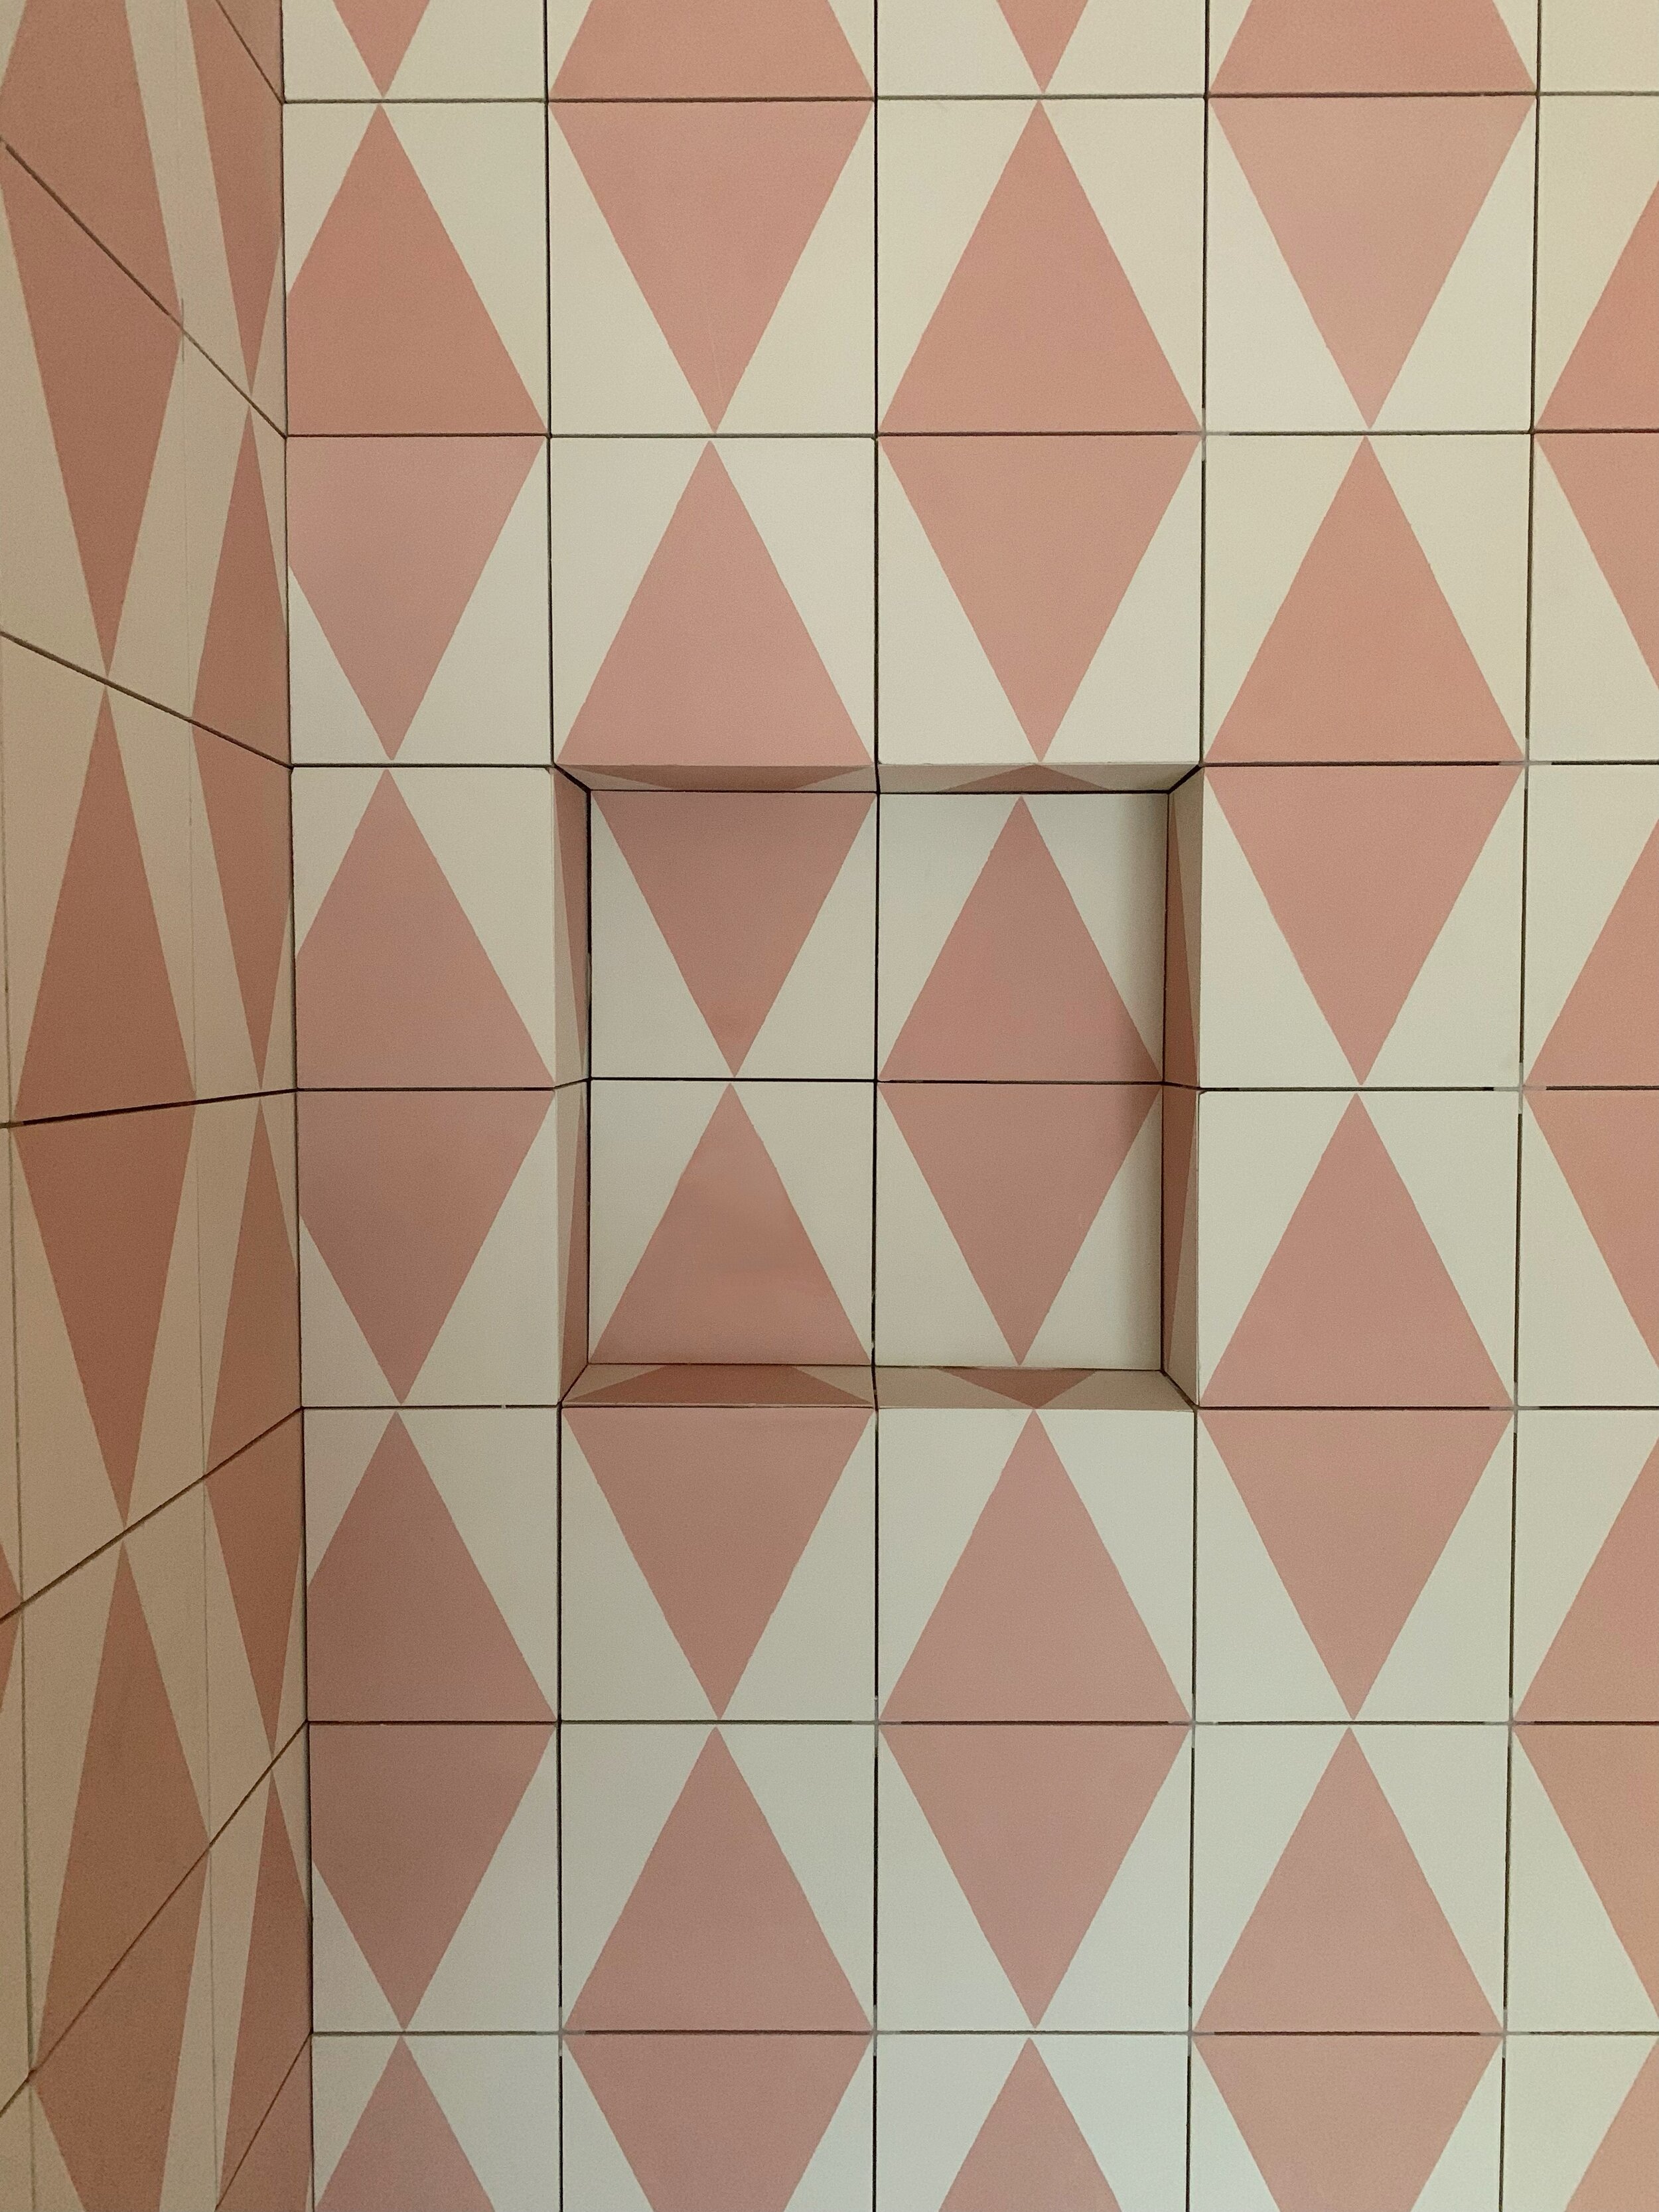
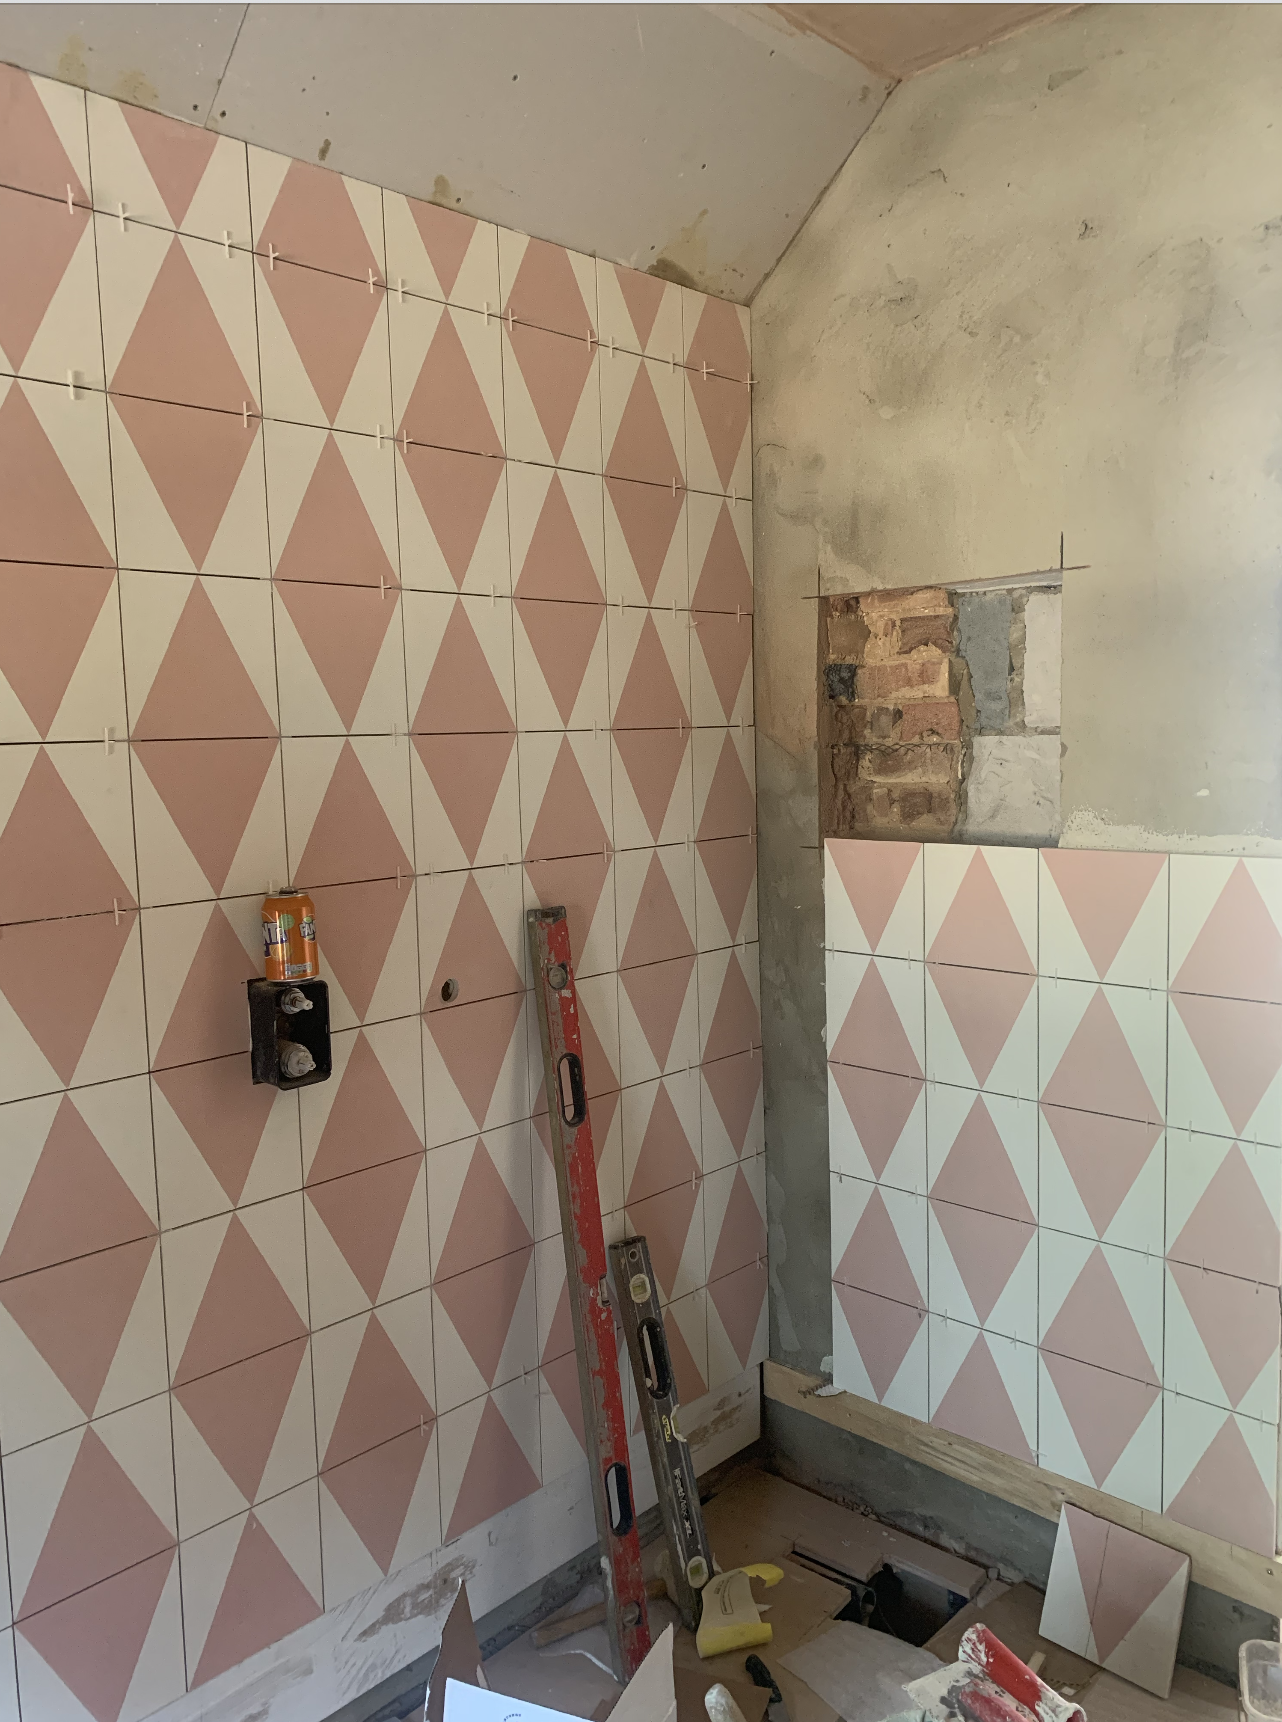
When it came to choosing tiles, I decided on encaustic (concrete) tiles from Mosaic factory. At Mosaic factory you can design the ties yourself and I was pretty sold on this. I mean, who doesn’t want to design their own tiles if they can? I went for a 20cm x 20cm square tile in colour R pink and B white. I wanted to bring the tiles all the wall down the walls and onto the floor for a bit of a seamless look in this room, then paint the rest of the walls white.

Mosaic factory encaustic tiles (20cm x 20cm) in colours B and R. Shower enclosure colour choices from Drench Showers.
I’ve chosen chrome Kohler brassware for this space as I thought it was more timeless and popped more against the pink and white tiles. Because I’ve gone for the Kohler Cast iron cleo bath, I’ve chosen the composed floor standing bath tap. I’ve always wanted a floor mounted tap as I hate it when taps stick out to much- especially when bathing our toddler, he has a habit of bashing his head, so I’m future proofing with this floor mounted one.
For the shower enclosure, I did consider a wet room, but our builders advised us about wet rooms unless there on the ground floor because of leaking. Instead we are having a 1400 x 800 shower tray from Kohler and are getting a contrast black shower screen from Drench Showers. We had a black drench shower screen in our old house and I loved the contrast against the tiles. This time we’re going for a black boarder shower screen with a chrome handle to tie in with the Kohler chrome brassware.
These are the bathroom components which I’m using…

My Kohler en-suite bathroom selection
Kohler Composed Floorstanding bath & shower mixer £1,020
2. Kohler ModernLife™ Close Coupled toilet pan Toilet £550
3. Kohler Standard 1400 x 800mm Rectangle Shower Tray £368
4. Kohler Brockway™ 3' Wall-mounted cast iron sink, 2 tap holes £3,519 inclusive of the soap dispenser and taps (This is only available through the Kohler Experience Centre in Clerkenwell).
5. Kohler Artifacts Thermostatic Built-in Single Sequential Shower Valve with 2-way Diverter £700
6. Kohler Cléo Freestanding bath £2,992
7. Kohler Triton taps
8. Kohler Katalyst Traditional round rainhead 8" diameter £325
9. Kohler Artifacts Handshower £120
10. Kohler Components 610mm towel rail £84
11. Kohler Components pivoting toilet roll holder £63
12. Drench shower screen - Boarder
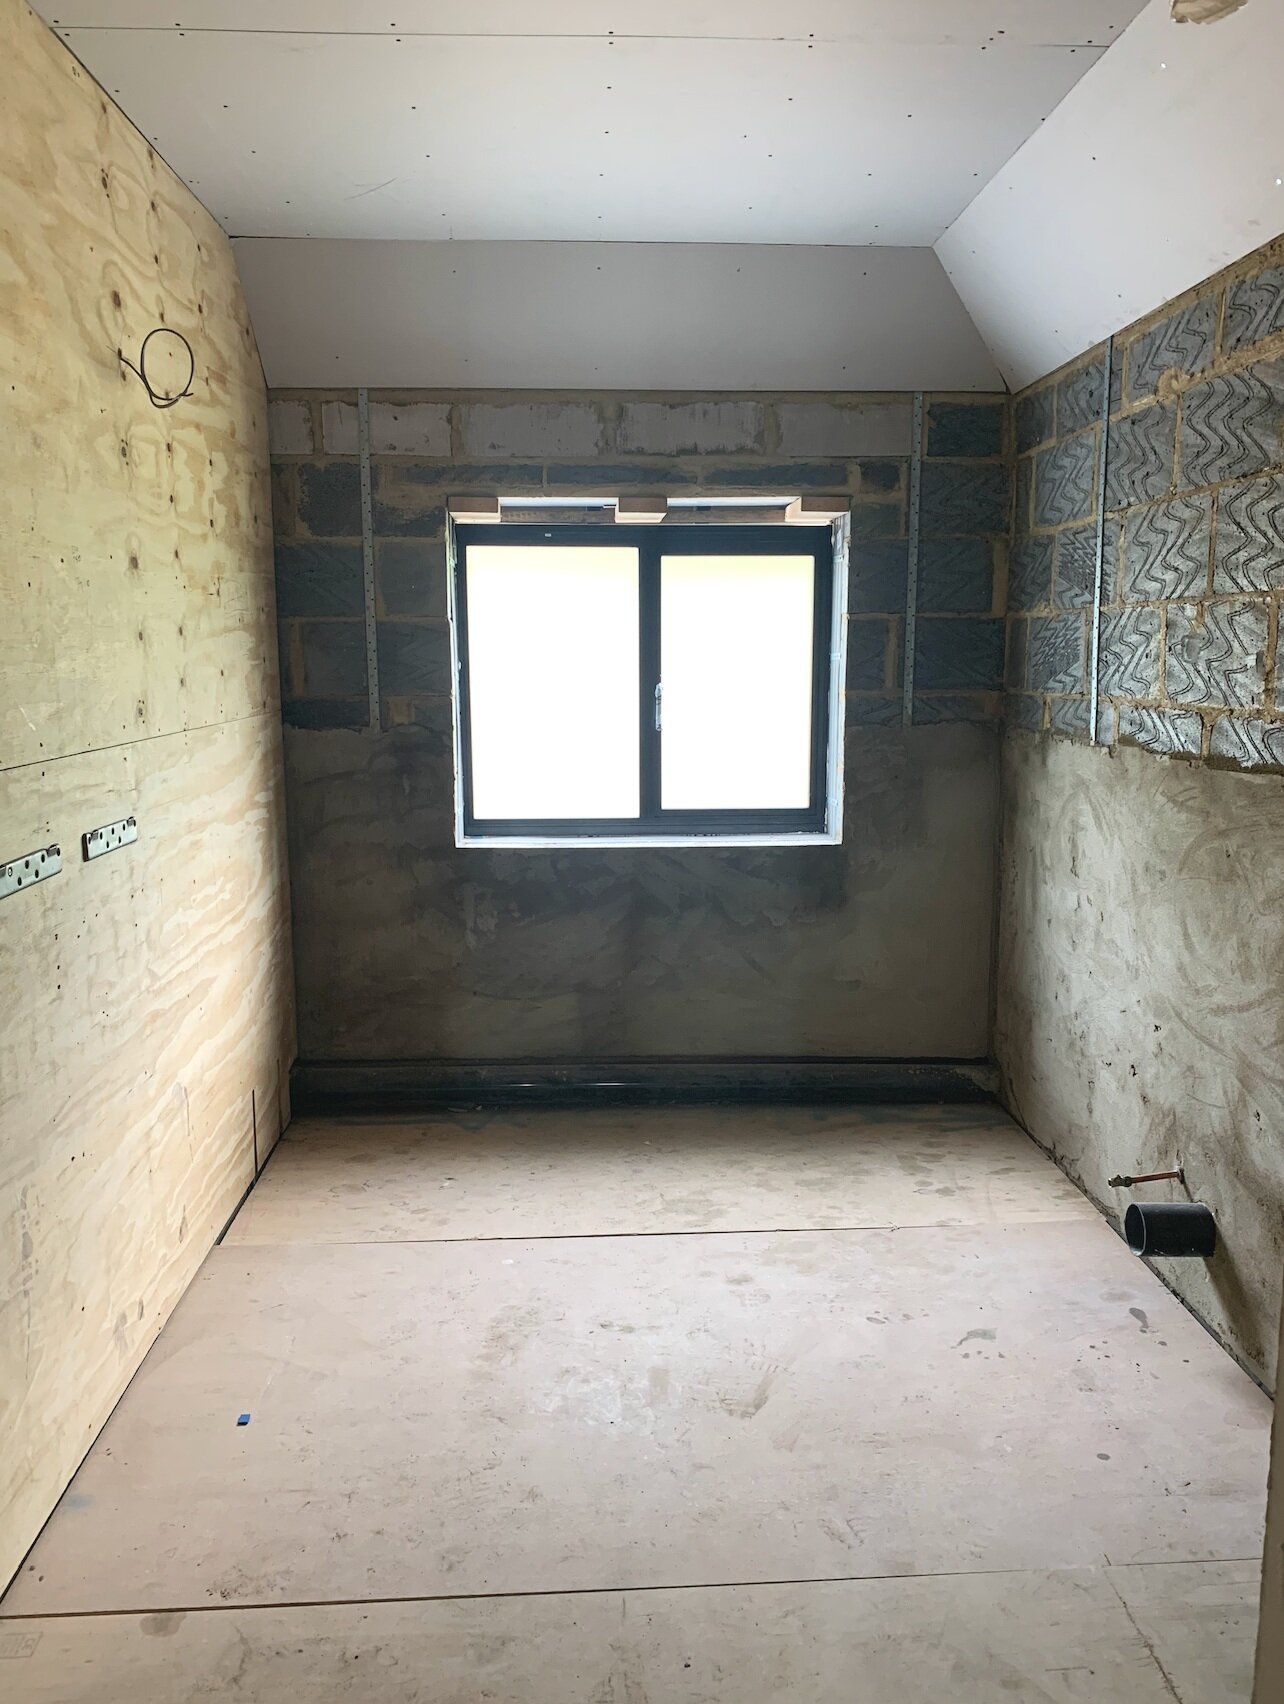
Progress shots of the en-suite bathroom
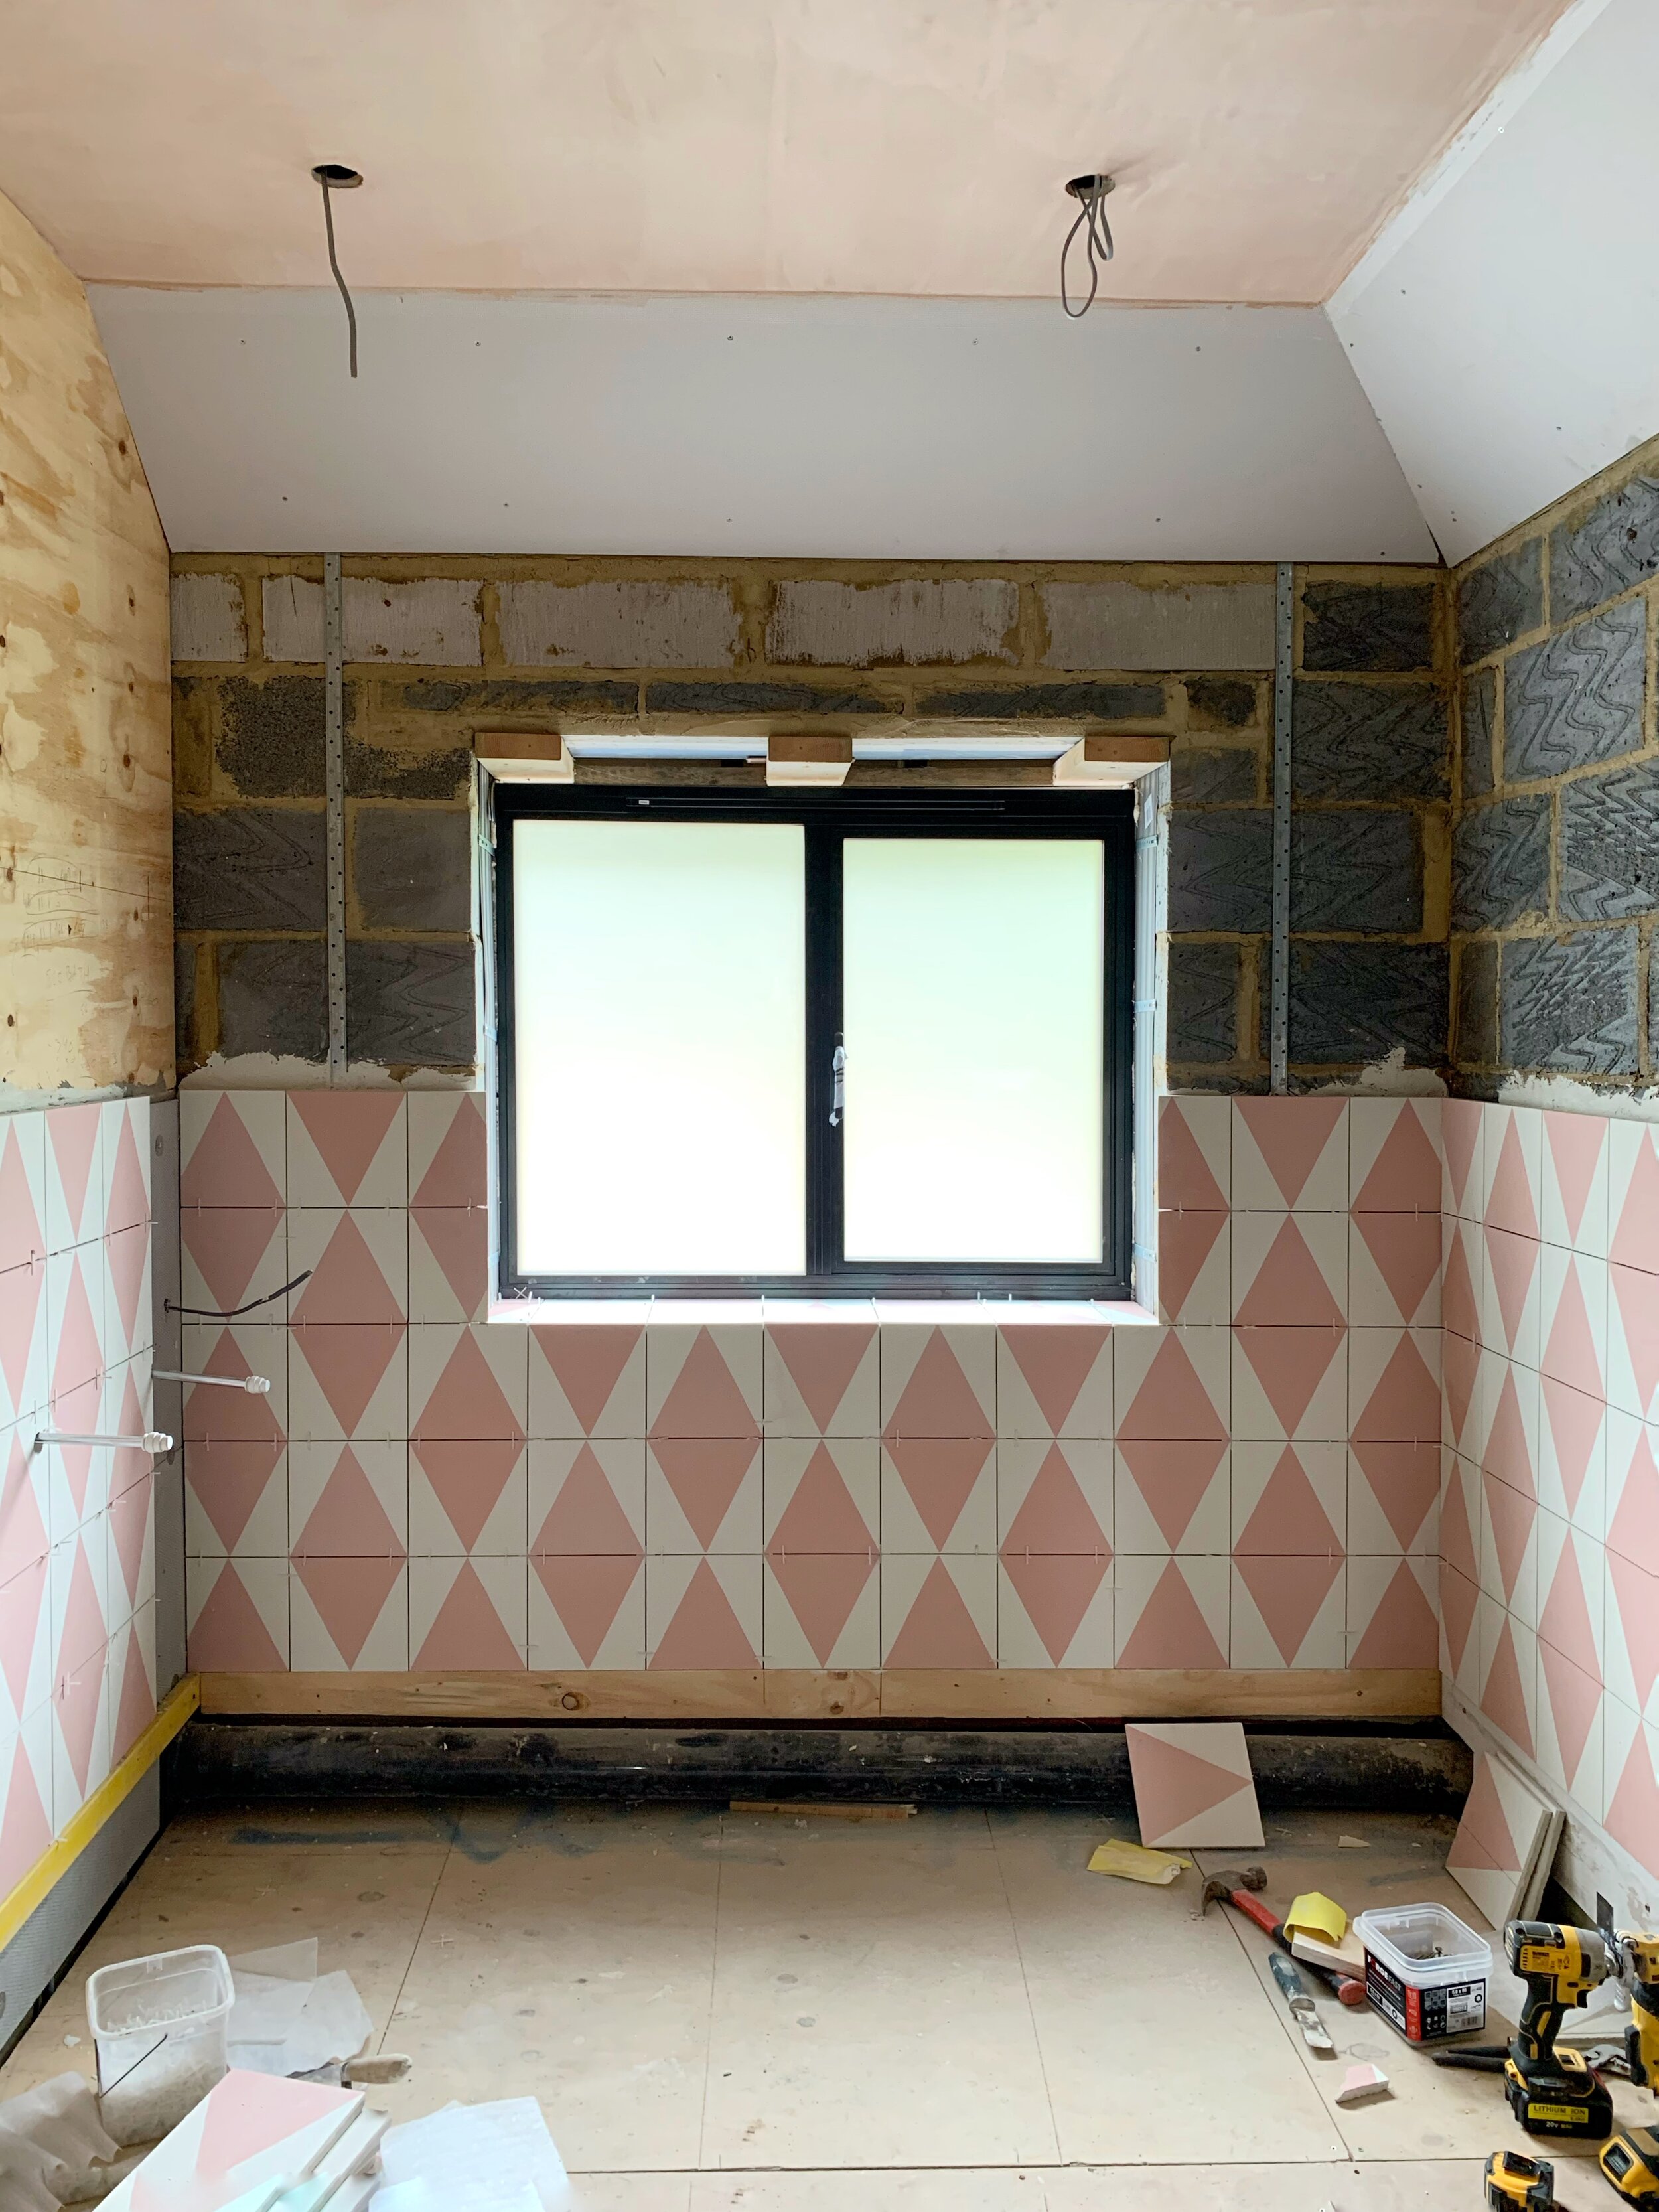
In terms of layout, you might have seen from the sketch at the top that I have decided to have the bath under the window. The shower enclosure will be on the opposite wall to the bath, in the corner and will have a built in shower shelf for our shampoo bottles.
The Brockway sink is wall mounted and will be mounted to the wall on the left where you enter the room, and the toilet will be opposite.
I didn’t want any of the sewage pipes to show on the back of the house, so our builders have made sure they’re all on the side and out of view, so this dictated where the toilet had to go.
***My tip when designing your bathroom is to always check the sewage pipe location first, as its not always an easy job to relocate it ***.

The Cleo Cast iron bath from Kohler.
And that pretty much raps up the design of our ensuite bathroom over at the rat house. It’s all currently underway and should be finished over the next few weeks. Who’s excited to see it finished? I for one am super excited and cannot wait to share it with you. You can see how excited I was for the Cleo bath to arrive last week, so I cannot wait to see it all installed. I might even paint the underneath of the bath too. Can you guess what colour? I’ll give you a clue, it seems to be the common thread throughout our entire build….